
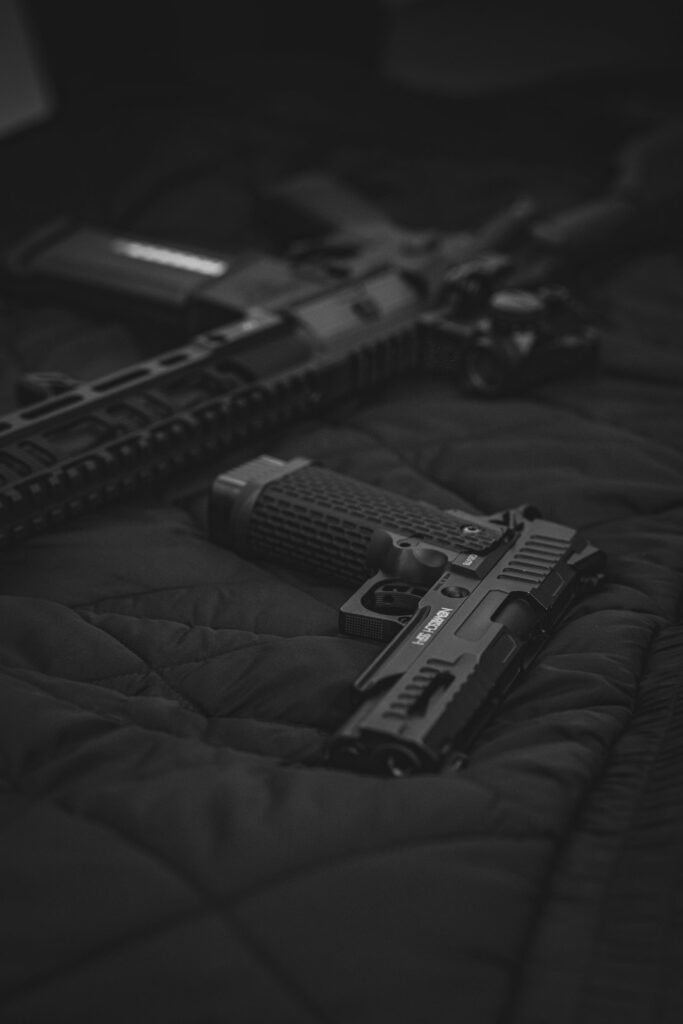

The reticle is the illuminated mark used for aiming, and its size creates a practical trade-off. A larger mark is generally easier to notice during a hurried presentation, but it can cover more of a small target. A smaller mark may support finer aiming while demanding more precise presentation skills. Imagine a new user practicing at seven yards with an optic. The first few sessions might be slower because the dot appears outside the window. Unloaded presentations, performed safely and repeatedly, can build a more consistent index. Live fire should then confirm whether the improved presentation translates into steady groups.
Mounting compatibility deserves more attention than appearance or a long feature list. An optic footprint describes the screw pattern and contact surfaces that connect the sight to a slide or adapter plate. If the footprint does not match, installation may require a different plate, slide machining, or another sight. Before purchasing a handgun red dot sight, confirm the handgun model, slide cut, footprint, screw dimensions, plate height, and the manufacturer’s installation instructions. A poor fit can permit movement, damage fasteners, or cause the sight to lose zero. When uncertain, qualified assistance is preferable to forcing incompatible parts together.
Zeroing aligns the optic’s point of aim with the bullet’s point of impact at a selected distance. Windage corrections move impact left or right, while elevation corrections move it up or down. Adjustment values are often expressed in MOA, or minutes of angle. A smaller value allows finer adjustments, but it does not guarantee better results in ordinary use. Begin from a stable rest and evaluate groups rather than reacting to one shot. If impacts are low only during a draw, do not adjust the optic to hide a presentation problem. Improve the technique, then confirm the zero again.
Brightness settings require judgment rather than a permanent maximum setting. The dot must be visible against the background, yet excessive brightness can produce a starburst appearance, particularly for users with astigmatism. Automatic brightness control may be convenient as lighting changes, while manual controls provide direct adjustment. Battery life depends on electronics, brightness, storage, and shutoff behavior, so a stated runtime should not replace a sensible replacement schedule. Check the dot before practice, keep a compatible spare when practical, and learn the controls before relying on the optic. A dim or dead reticle should be treated as a condition to manage, not a surprise.
Iron sights still have value after an optic is installed. With a co-witness arrangement, they appear through the window and can provide a reference if the dot is unavailable. Lower sights may sit below the center and function as a backup only after the optic fails or the window is obstructed. Consider a hypothetical rainy range session in which water covers the lens, or a bright bay in which the chosen setting is too dim. Training should include presentations with the dot, confirmation with iron sights when available, and safe practice for recognizing when the optic cannot be trusted.
Before selecting among reflex sight options for pistols, check whether the sight’s dimensions affect holster fit. The holster should protect the trigger and accept the mounted pistol without forcing it into place. After installation, inspect the fasteners at appropriate intervals, verify zero after hard use, and clean the lens with suitable material rather than a shirt sleeve. Also review range requirements and applicable laws. The most useful setup is the one you can draw consistently, inspect easily, maintain carefully, and use within your actual routine. Those practical checks matter more than adding features you will not train to use.